To see all of the recipes on this site, check out this overall index of the recipe categories It is arranged in a way to help you find the course, the cooking method, or the specific ingredient of what you are looking for.
You can also use the search bar if you have a specific recipe in mind.
Mexican Recipes
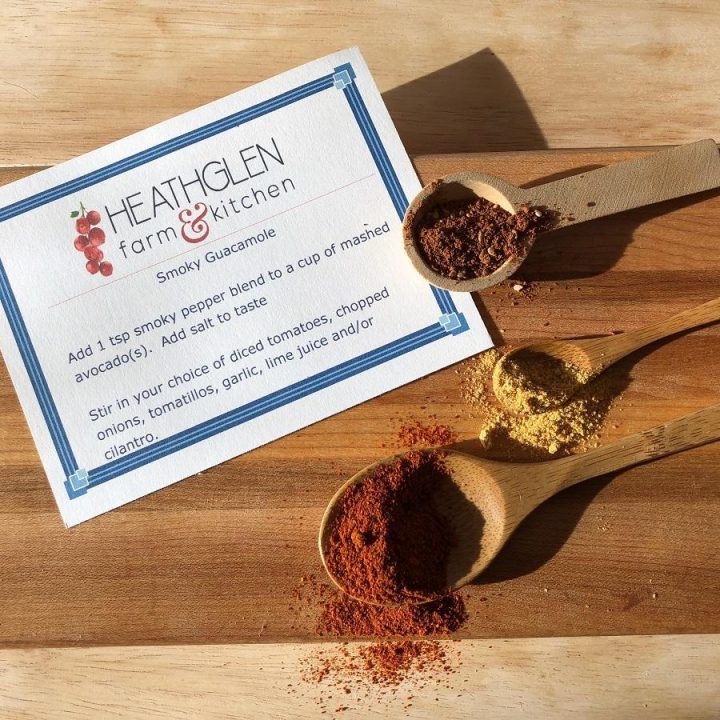
Chamoy Sauce: Mexico’s Sweet, Spicy, Tangy Condiment

Diced Pork and Cactus: Chile Colorado with Cactus Paddles
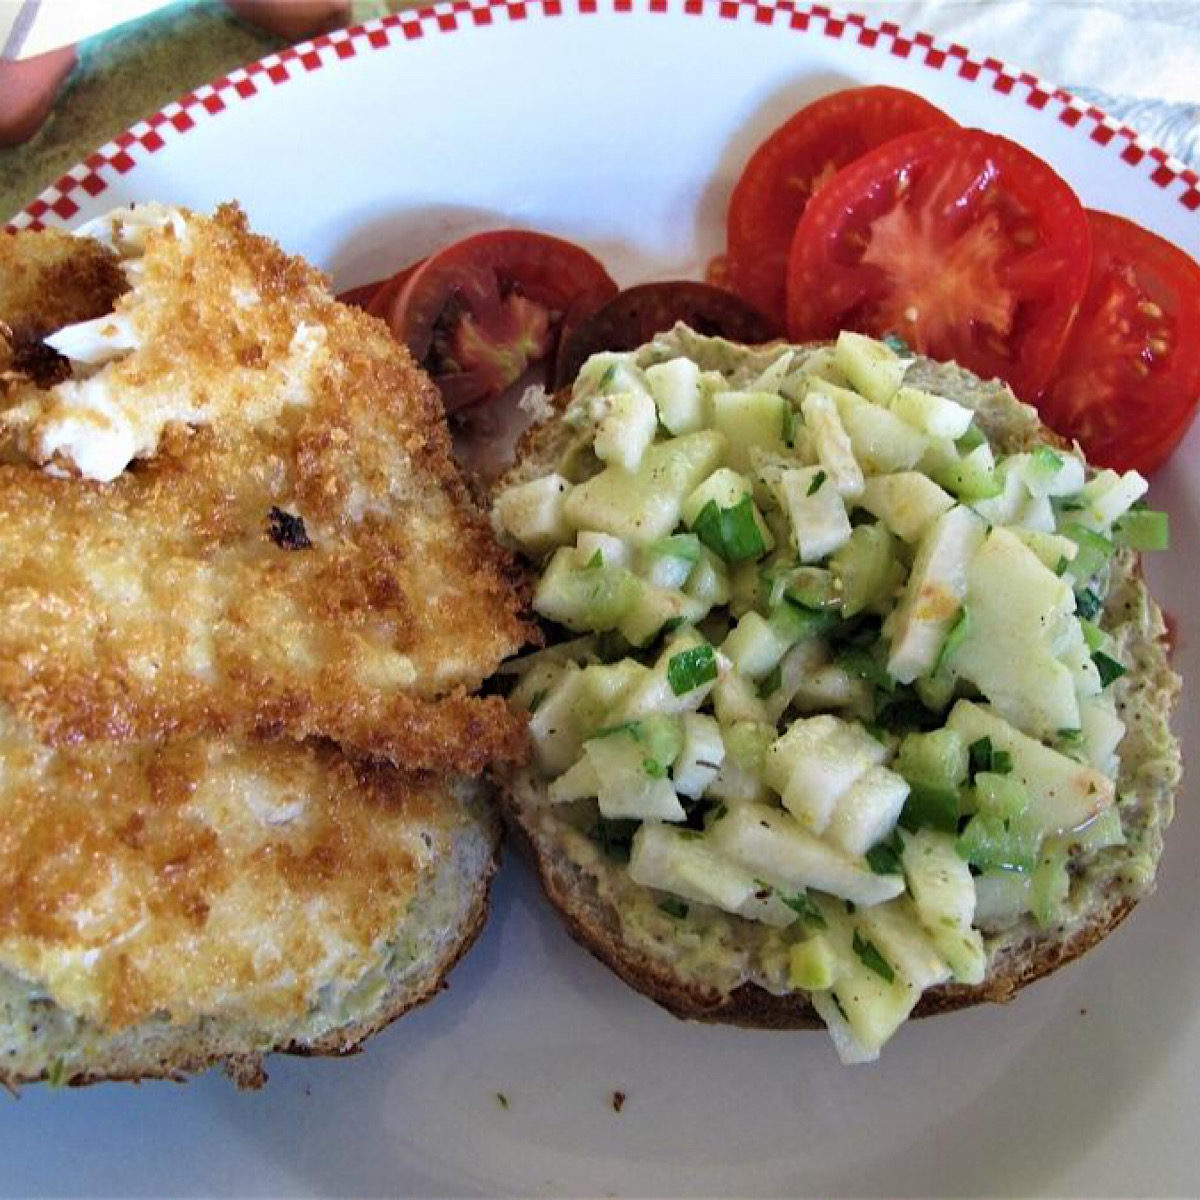
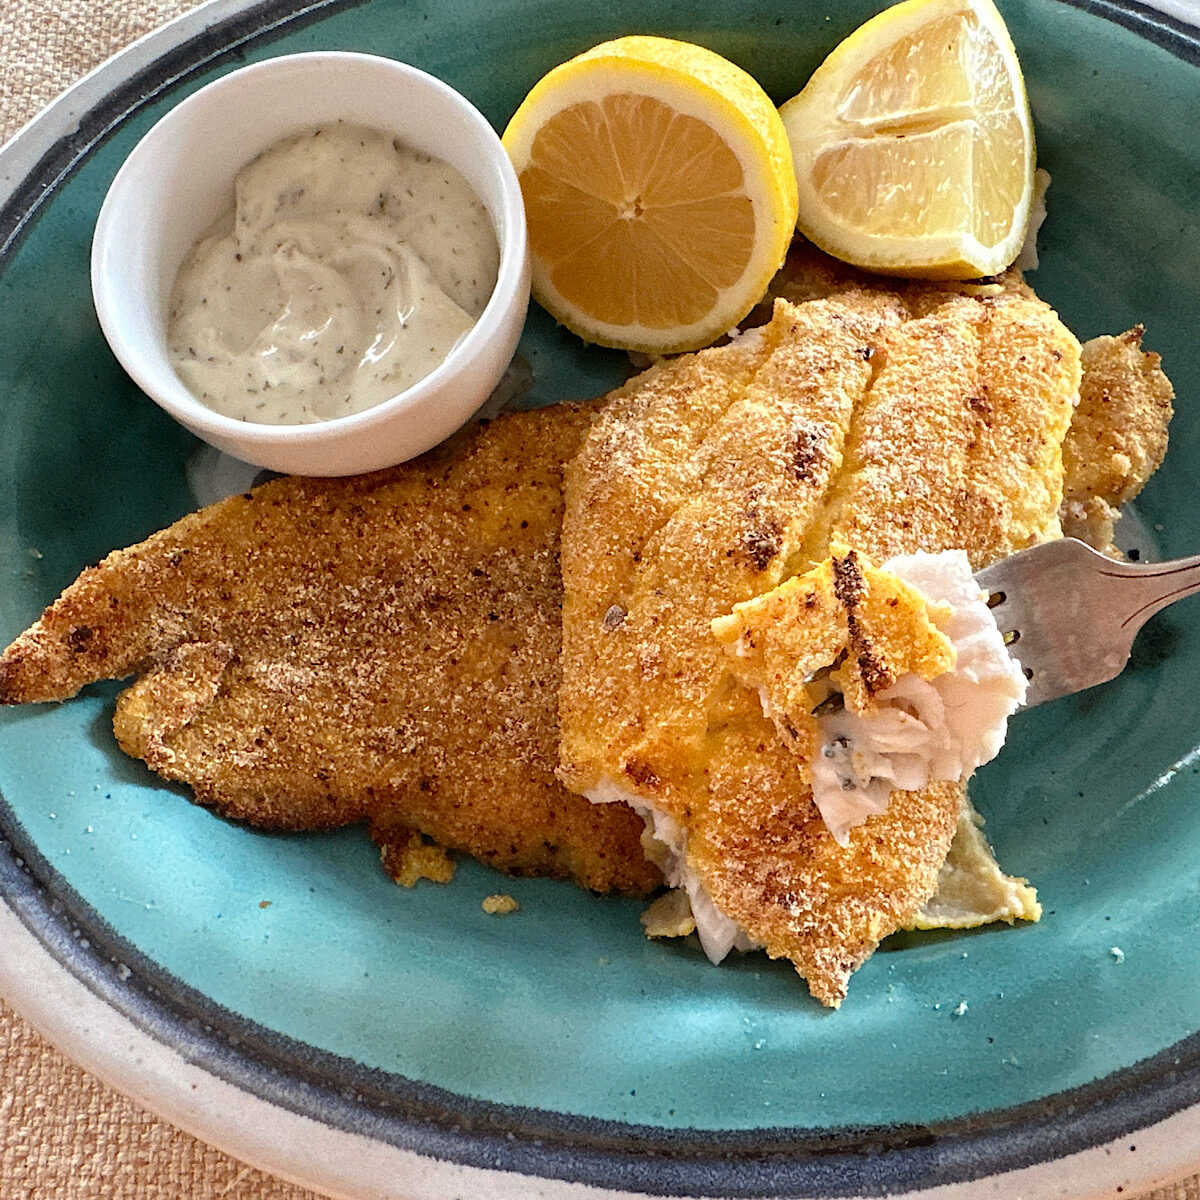
Low Carb Breaded Fish Topped with Jicama-Tomatillo Slaw
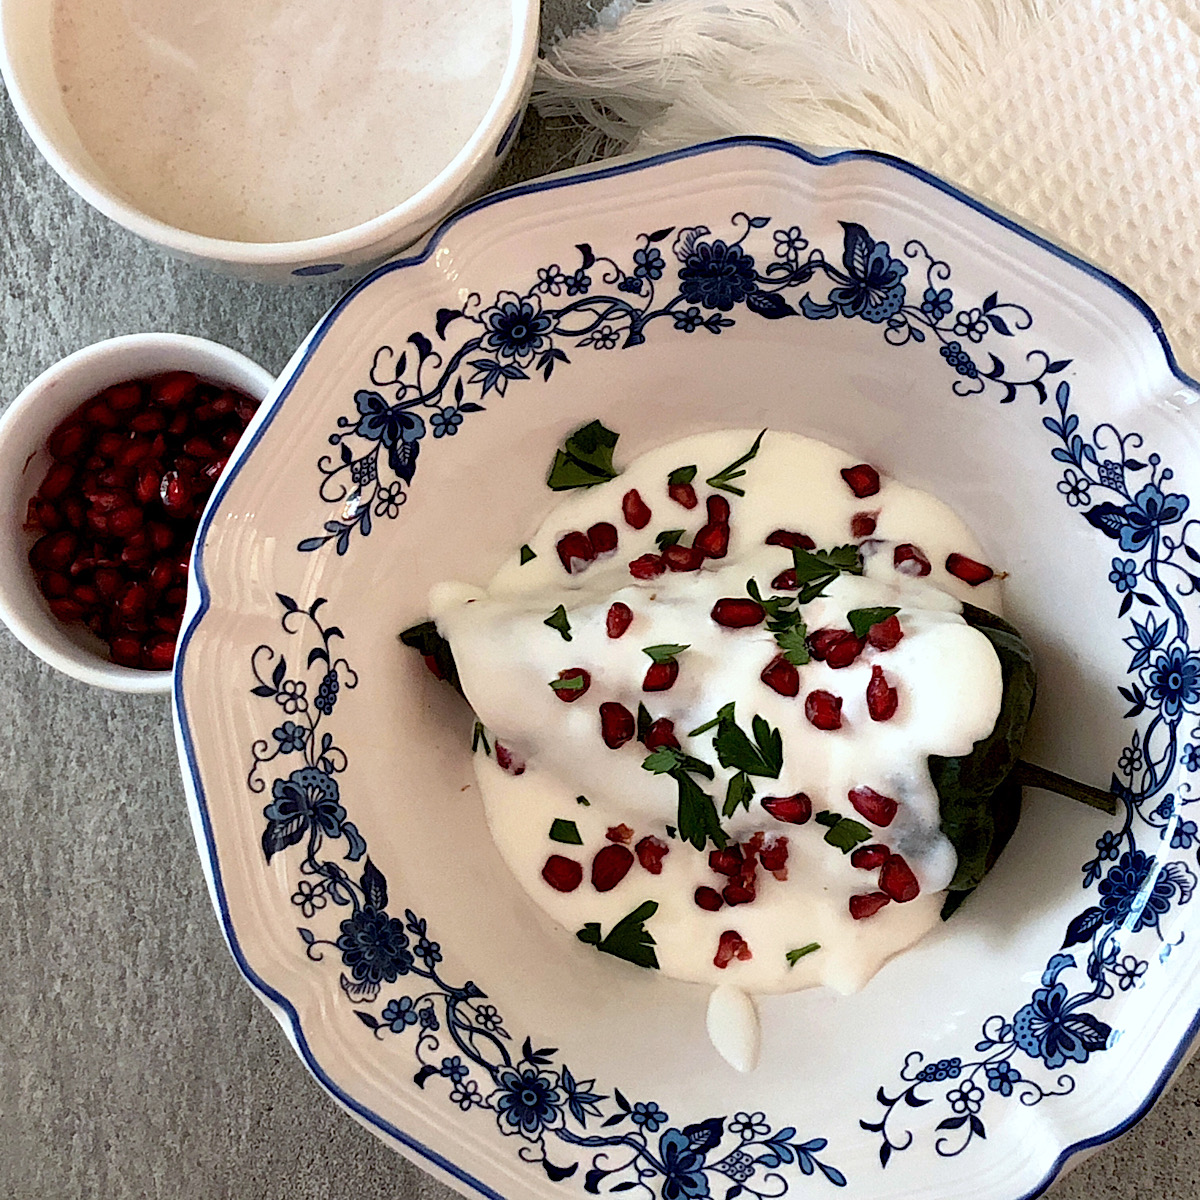
Chiles en Nogada: Mexico’s Most Festive Stuffed Pepper


Recipes by Course
- Breakfast
- Appetizers
- Main Dish
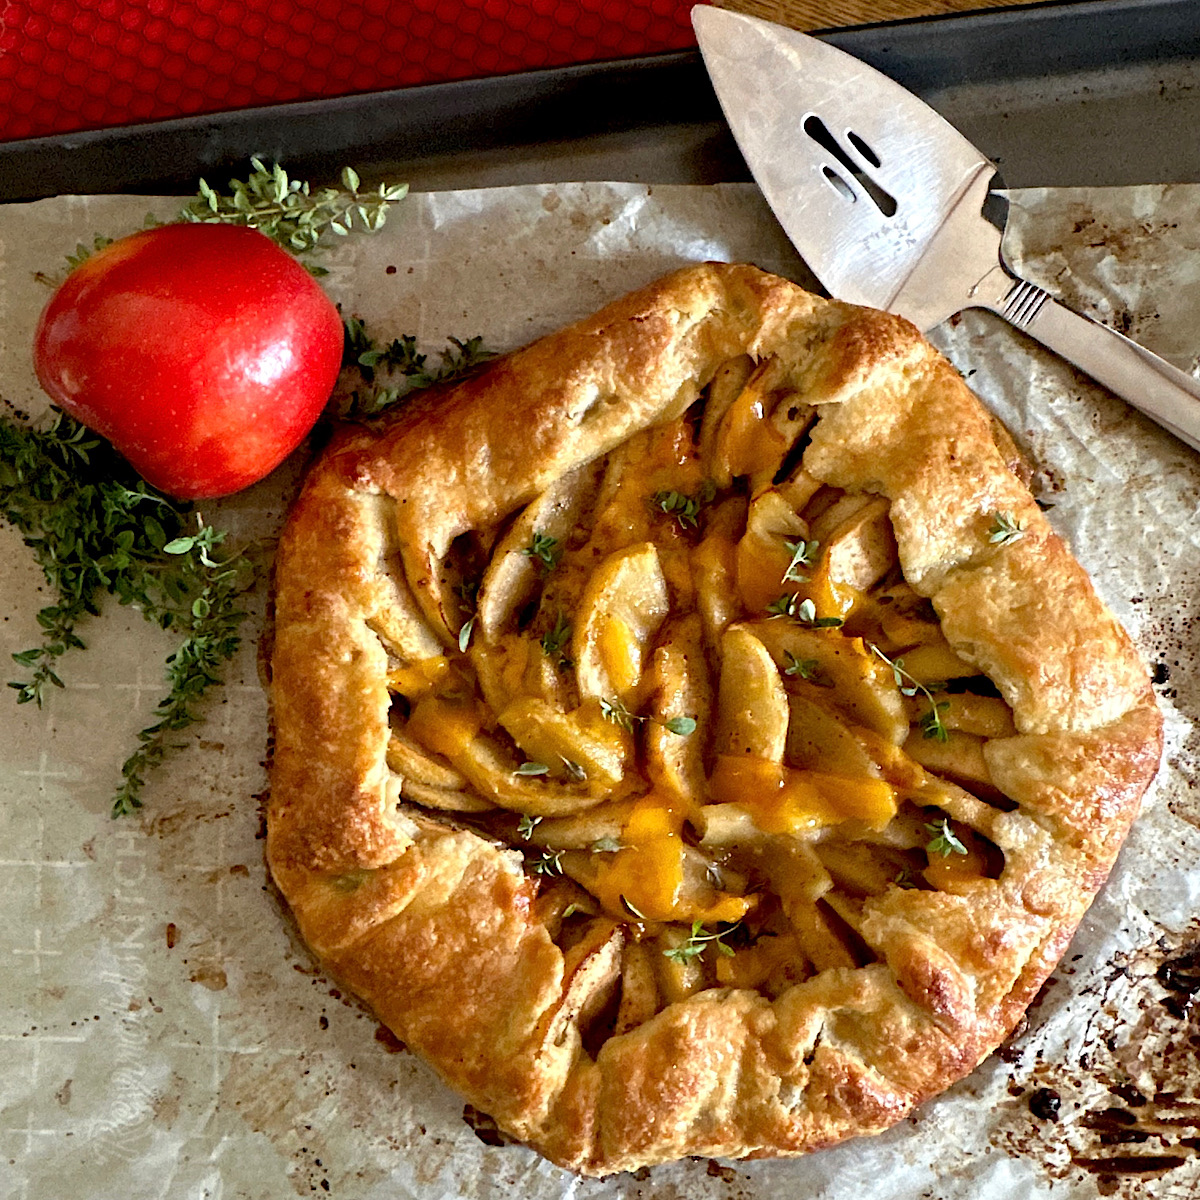
- Desserts
- Cookies, Bars & Breads
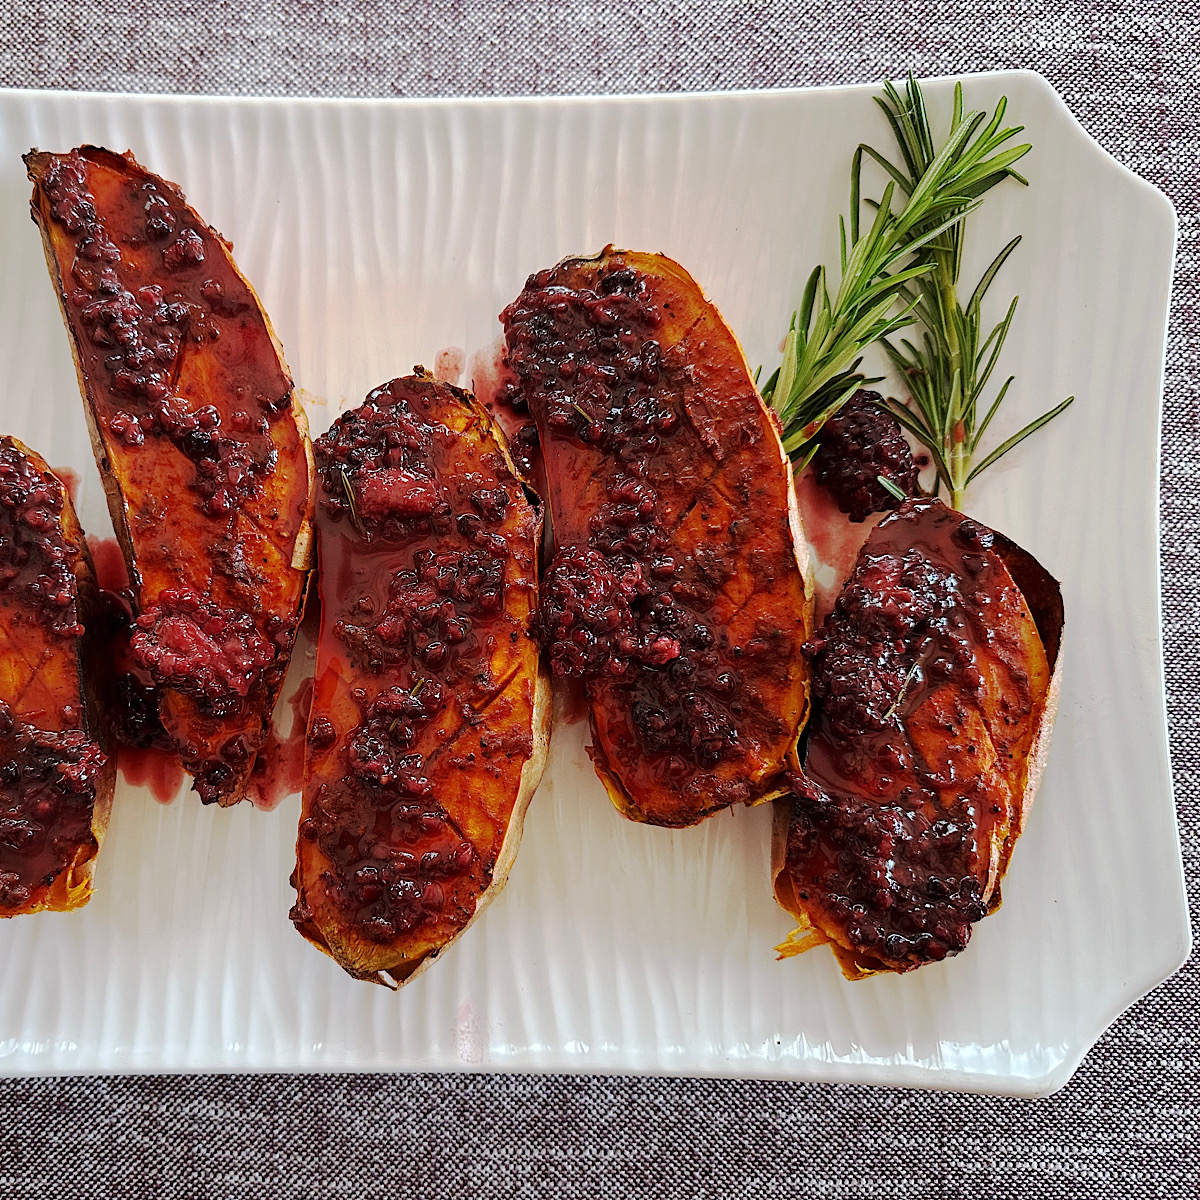
- Sides
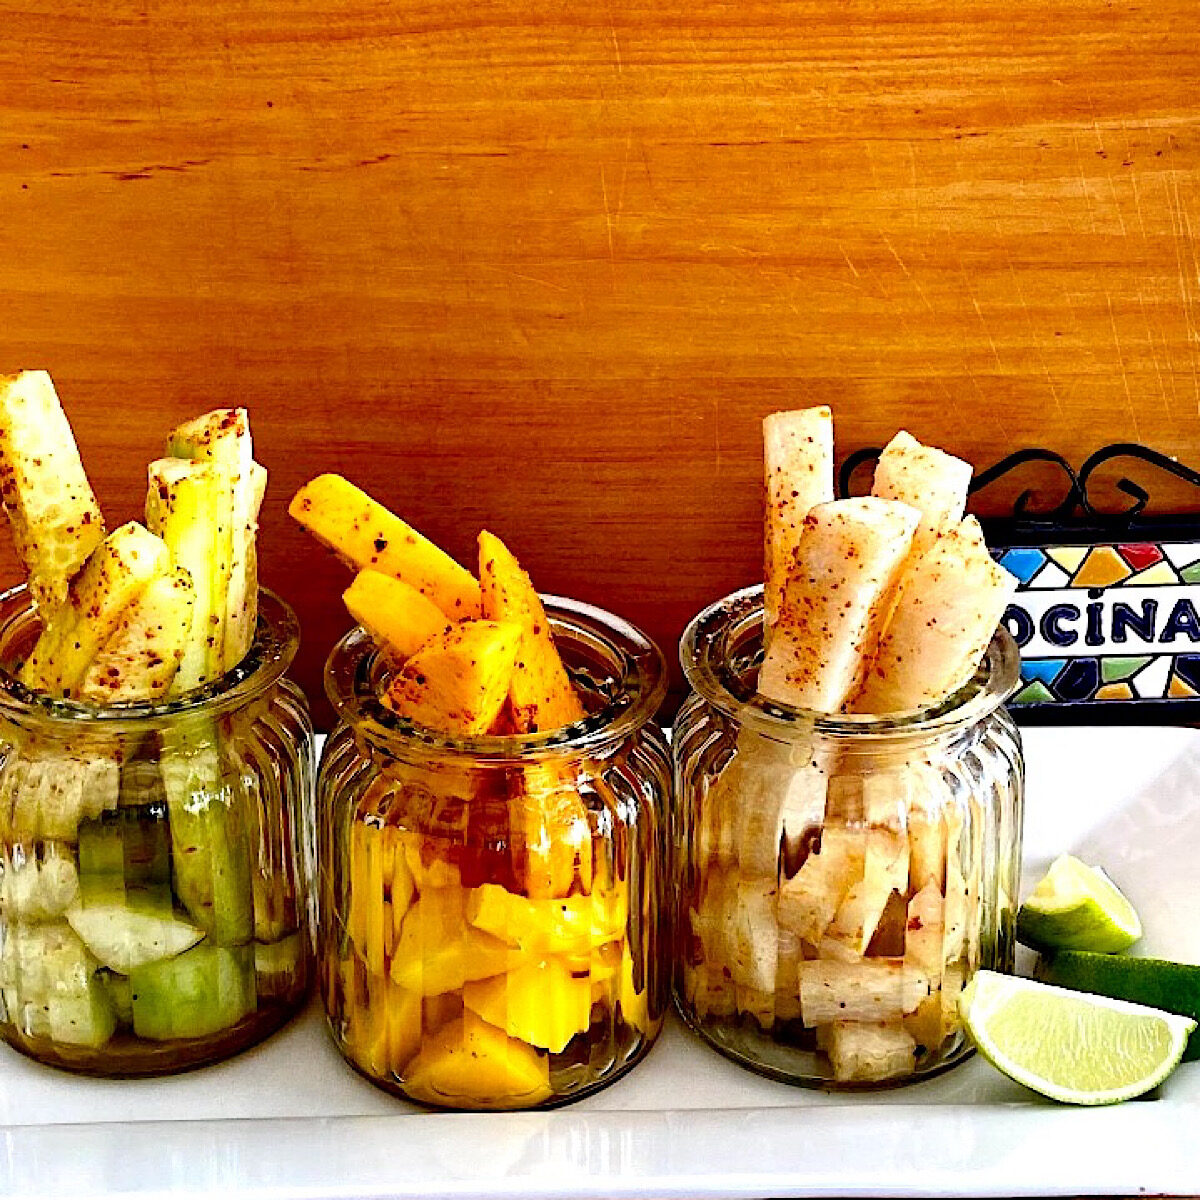
- Snacks (low carb)
- Soups & Stews
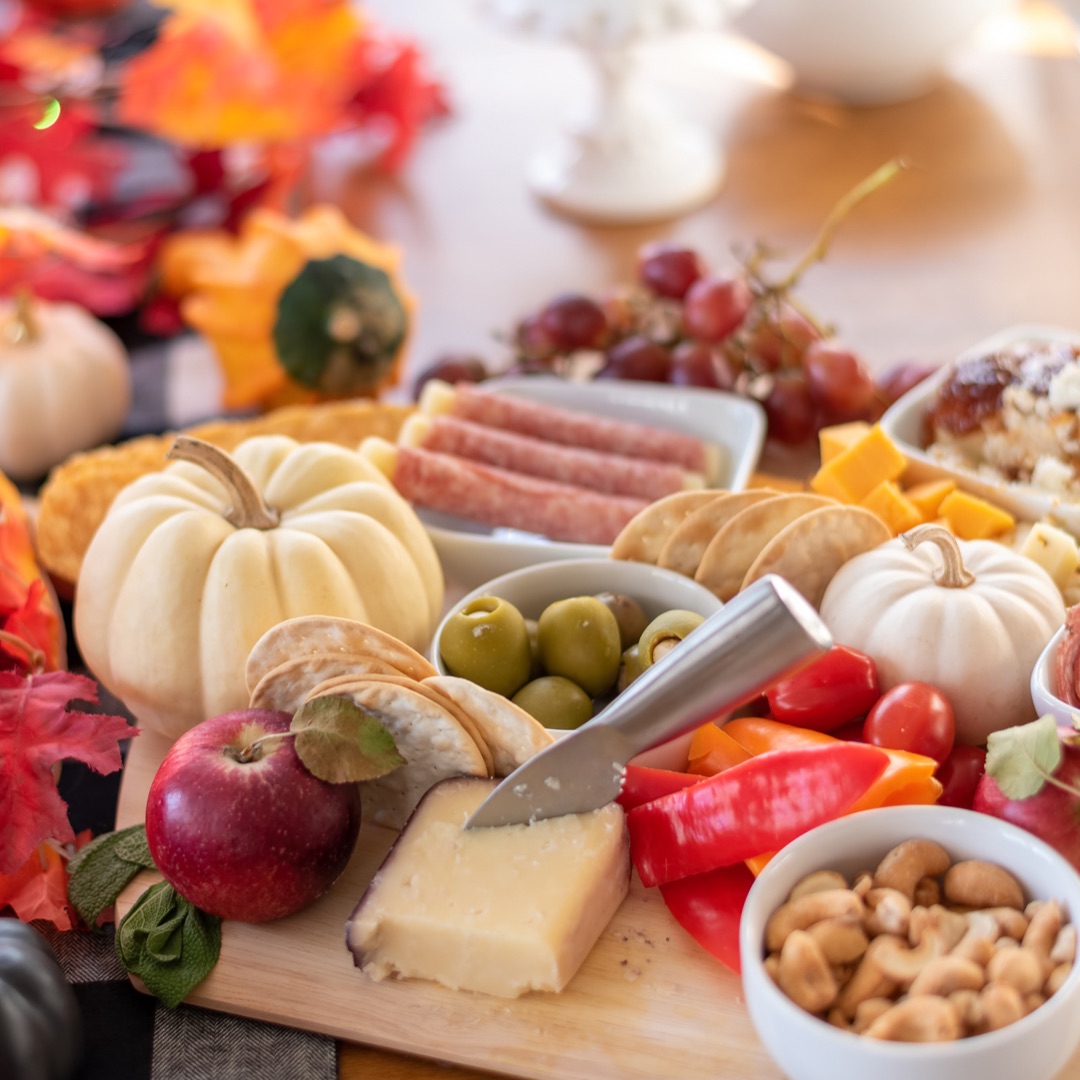
- Food Boards
Recipes by Ingredient:
Holiday & Celebration Recipes
- Easter
- Mothers’ Day
- Cinco de Mayo
- Kentucky Derby
- Heirloom Tomato Festival
- Thanksgiving
- Christmas
- New Years
- Valentines’ Day