
Welcome to our Farm & Kitchen

The Road to Health Through Cooking & Gardening
What should we do today?

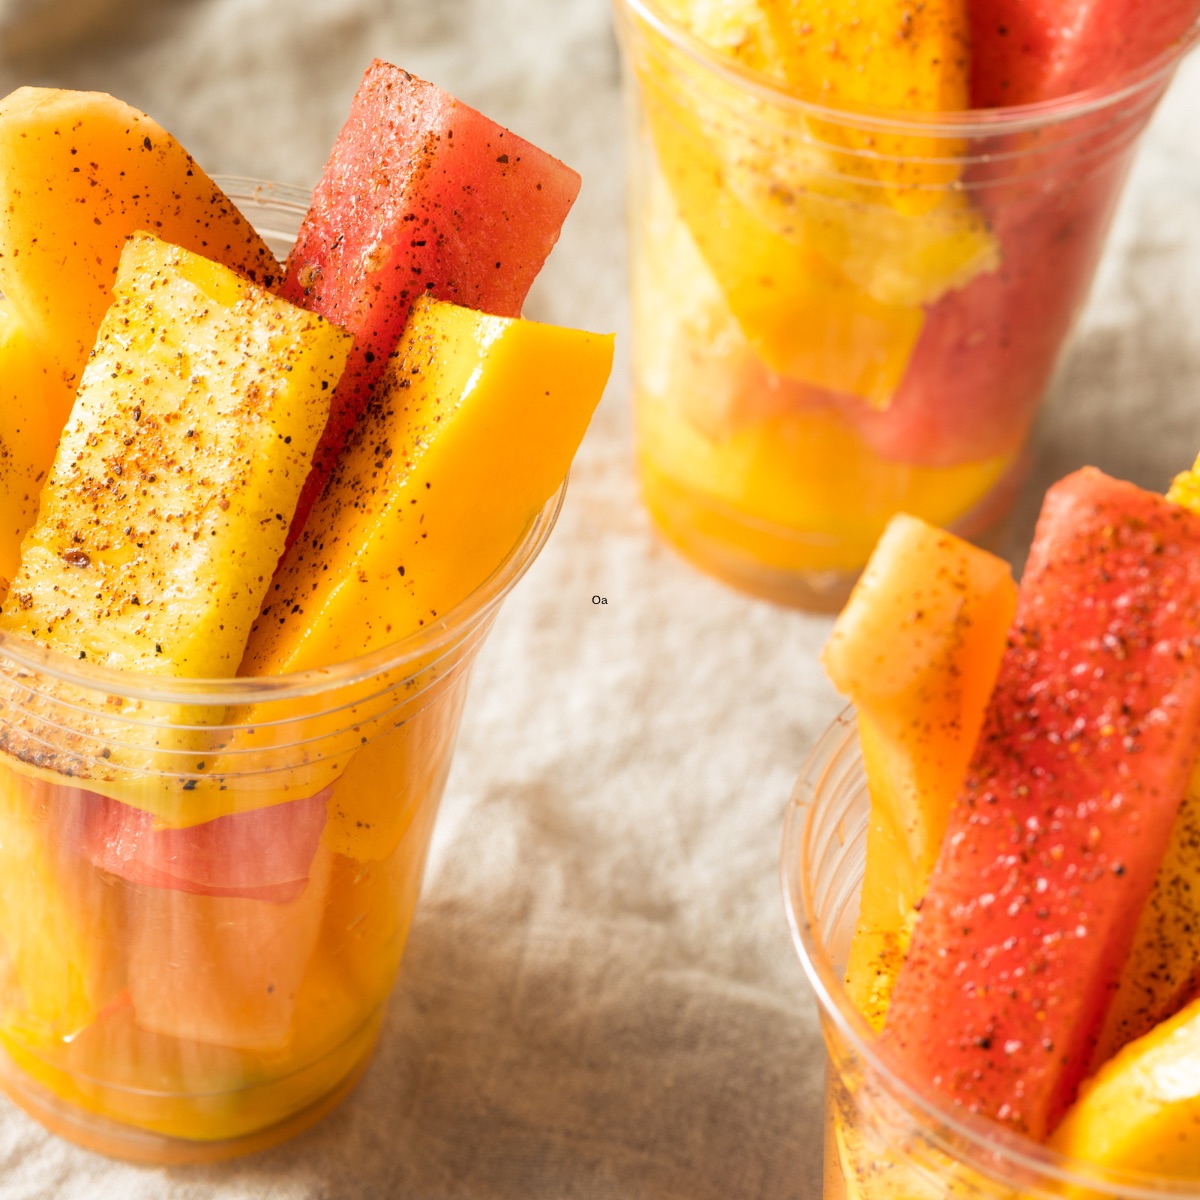
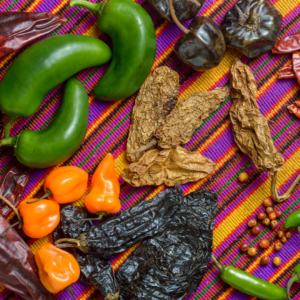
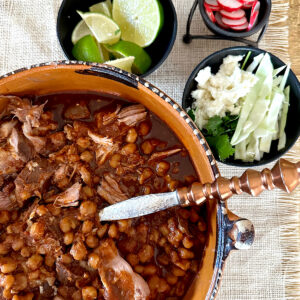
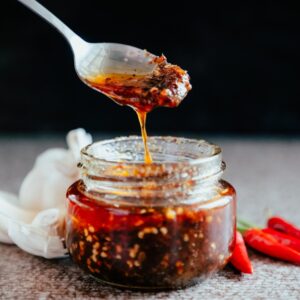
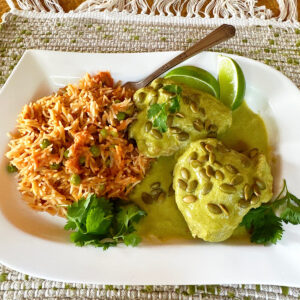
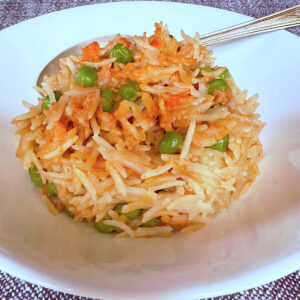
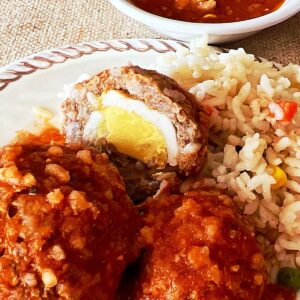
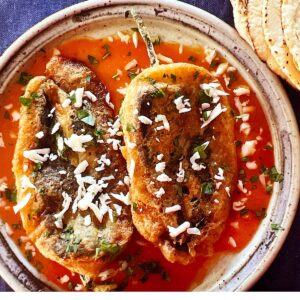
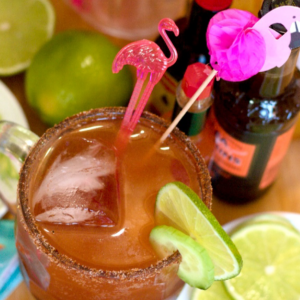
Treats for Cinco de Mayo


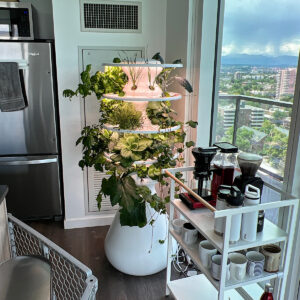
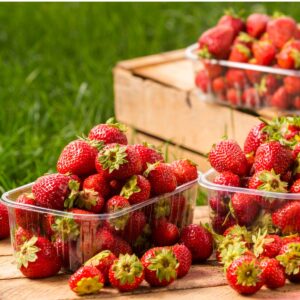
Small Space Gardening..
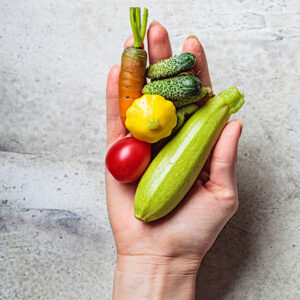
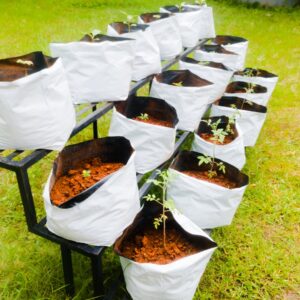
Matching Container Size to Vegetable for Higher Yields: Small Space Gardening
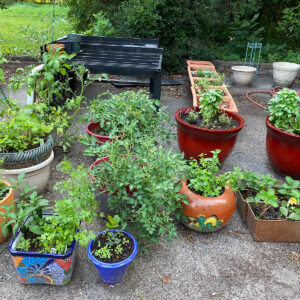
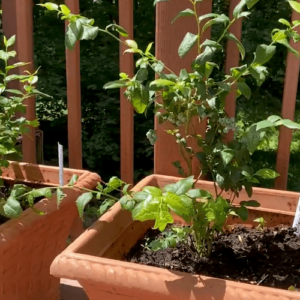
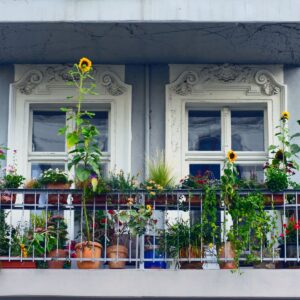
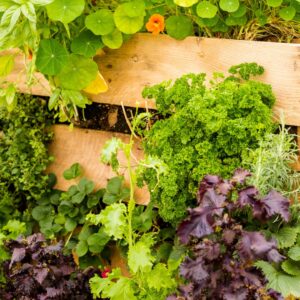
Starting A Balcony Herb Garden: Beginners’ Comprehensive Guide
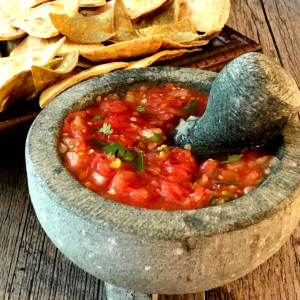
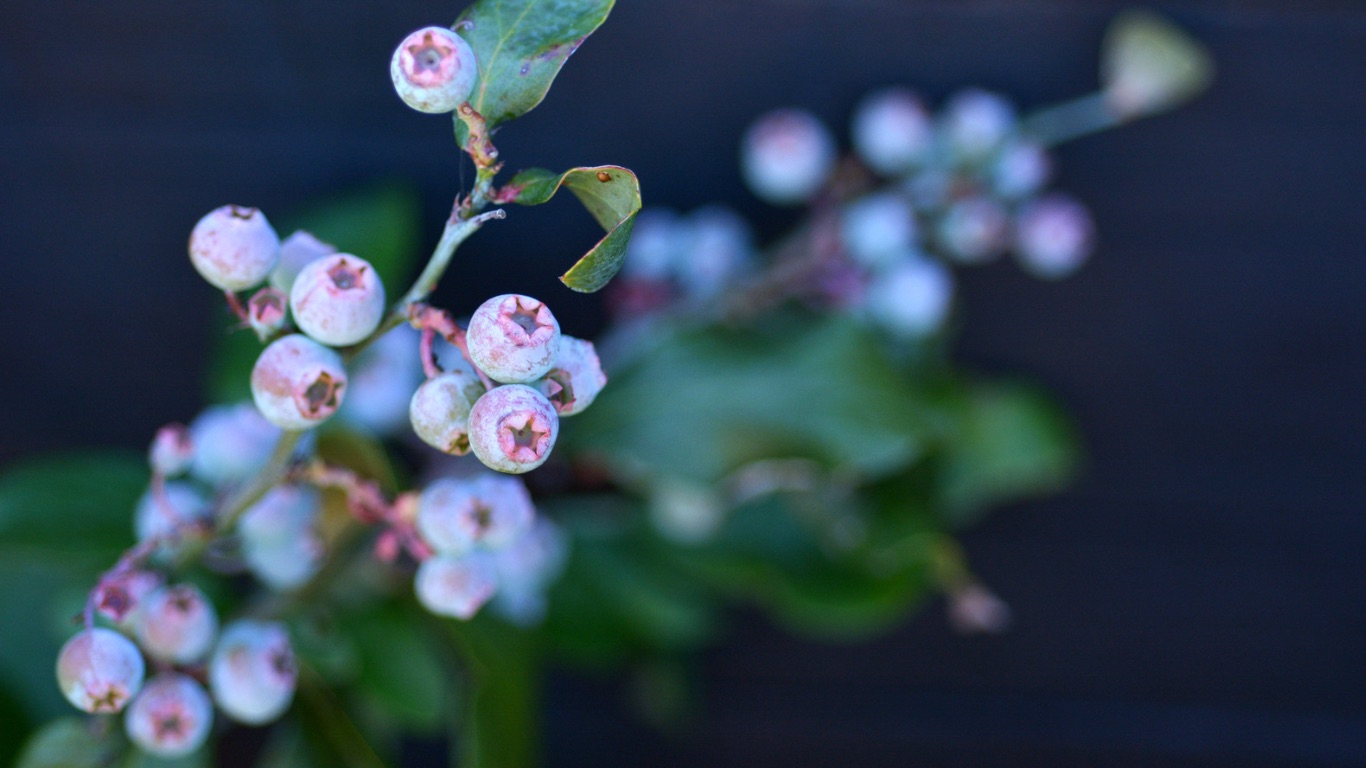
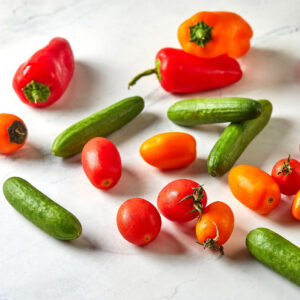
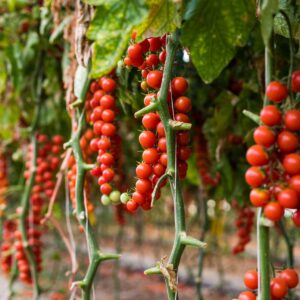
Best Tomato and Pepper Varieties for a Salsa Garden: + Salsa Recipe
Recent Articles
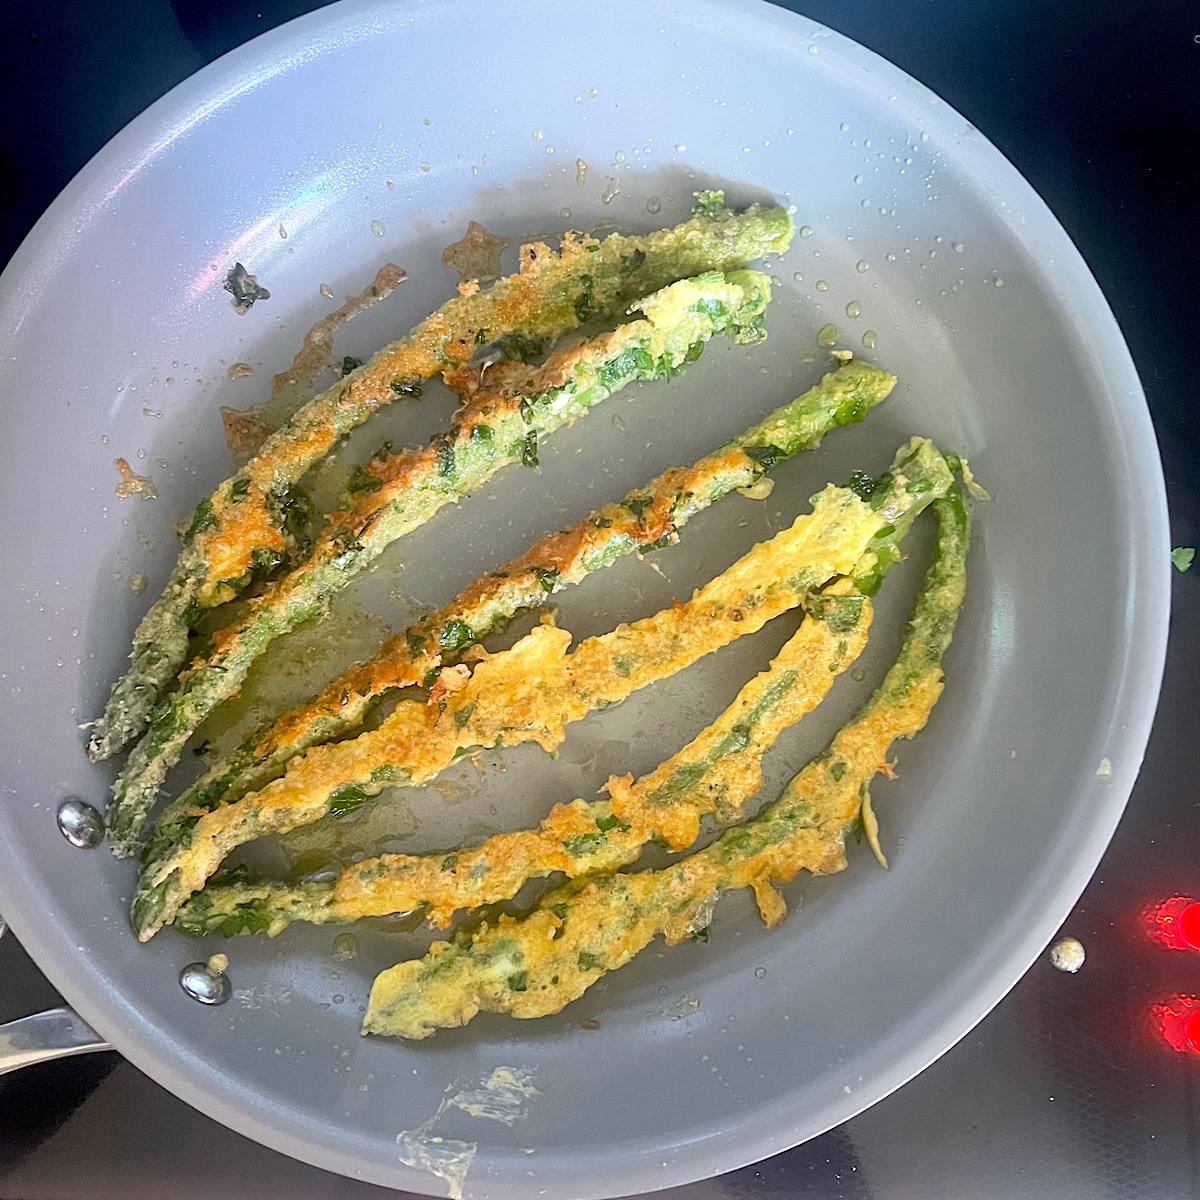
Italian-Style Asparagus Spears: Baked or Fried
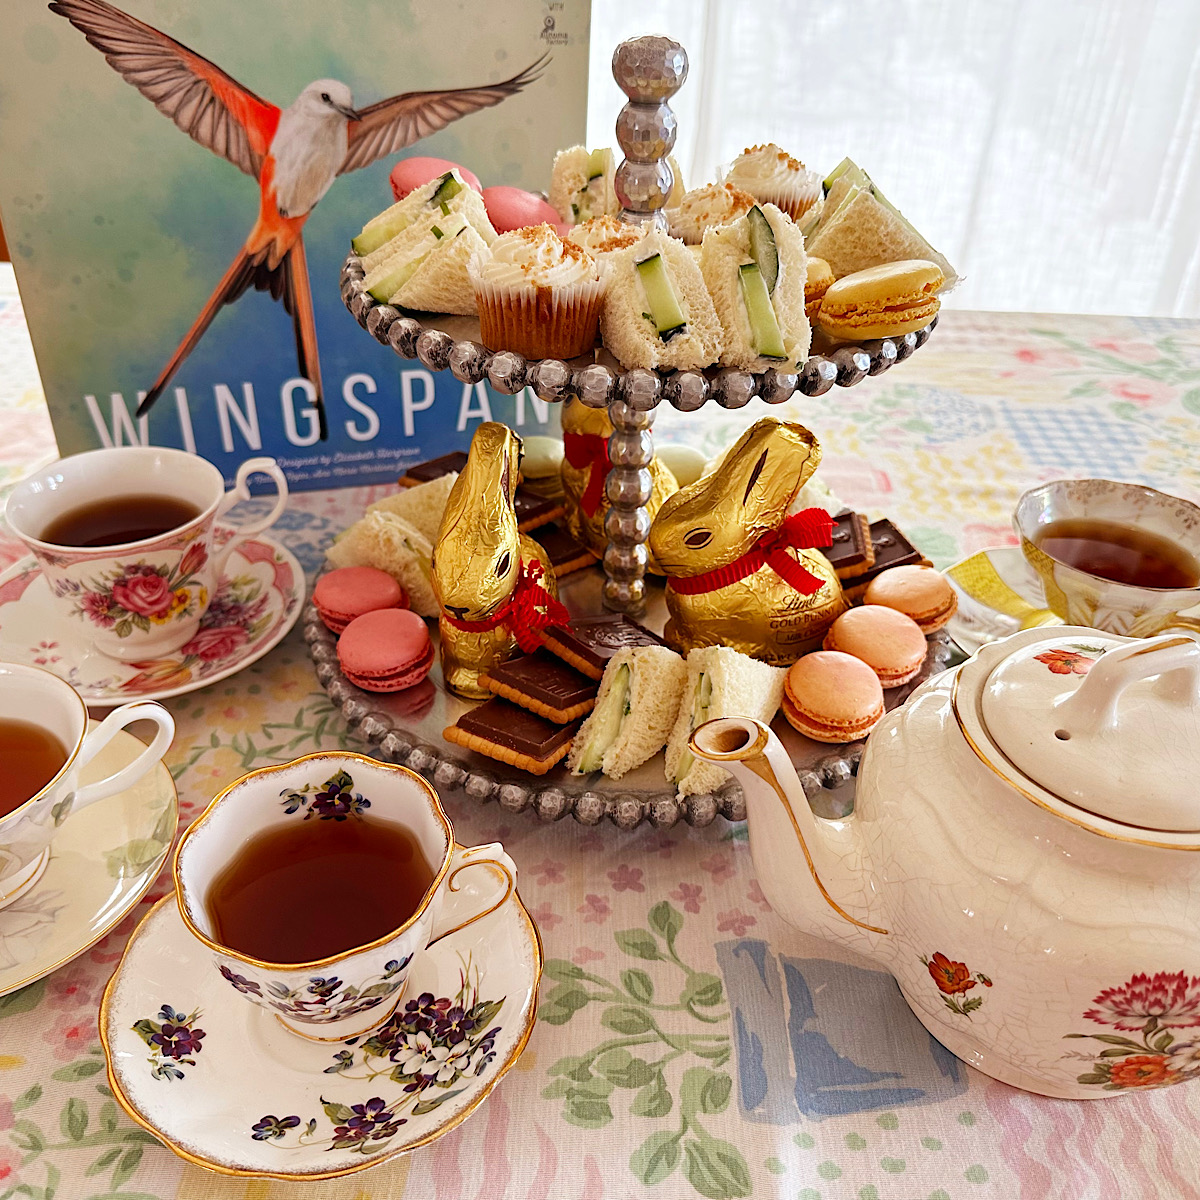
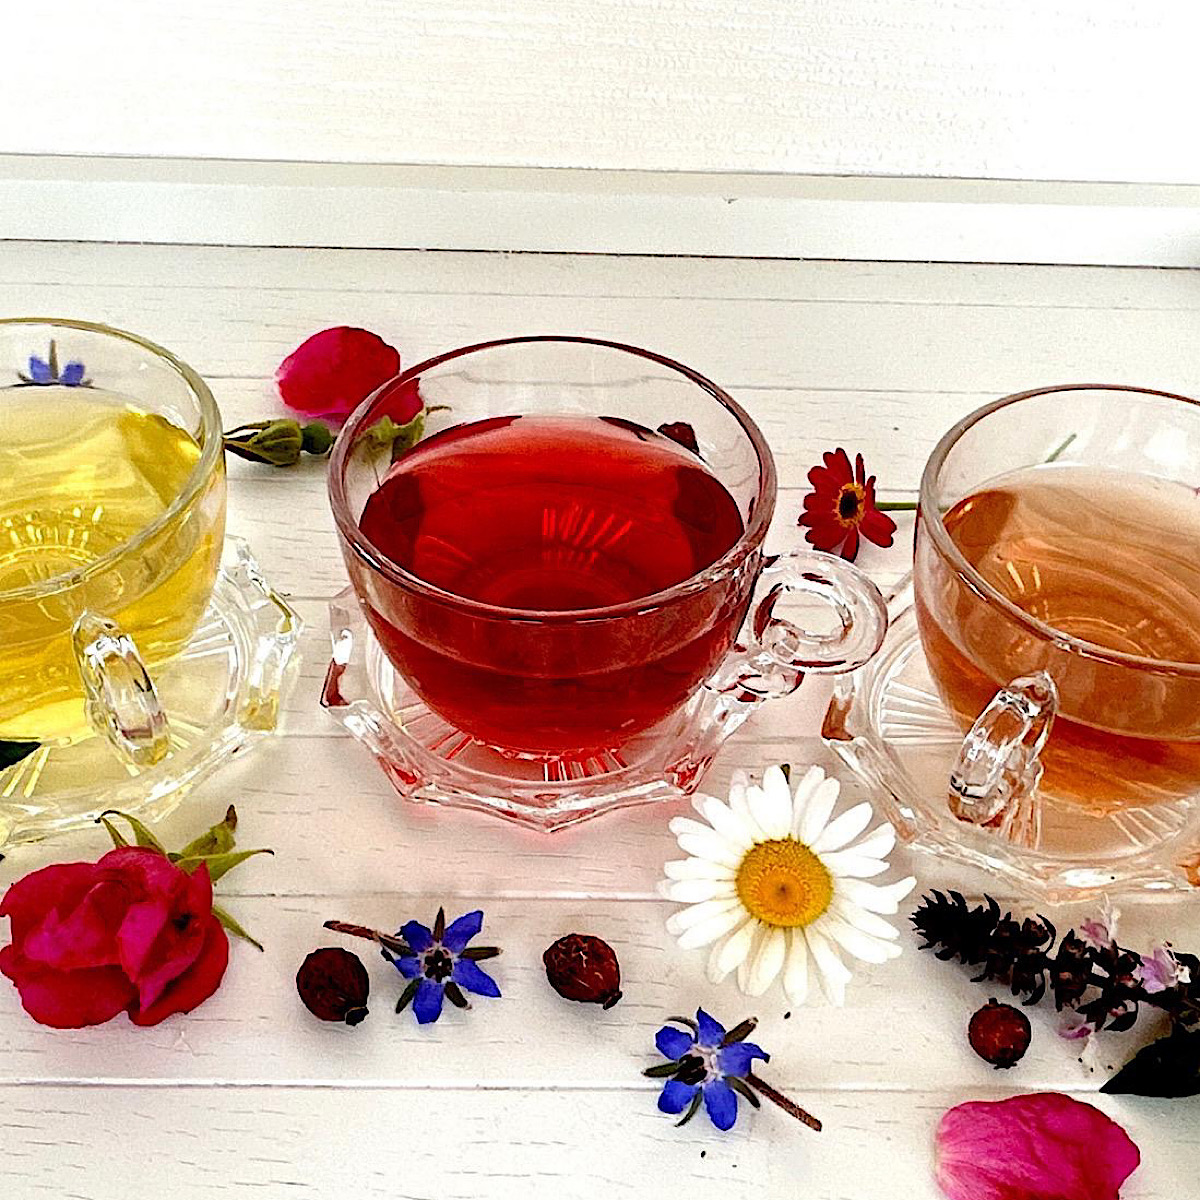
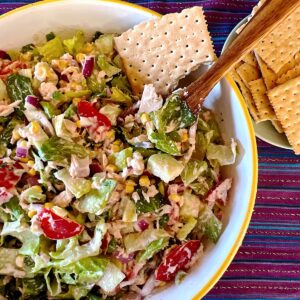
Casual Afternoon Tea at Home with Easy Finger Food

Persian Saffron Rice Pudding Flavored with Rosewater
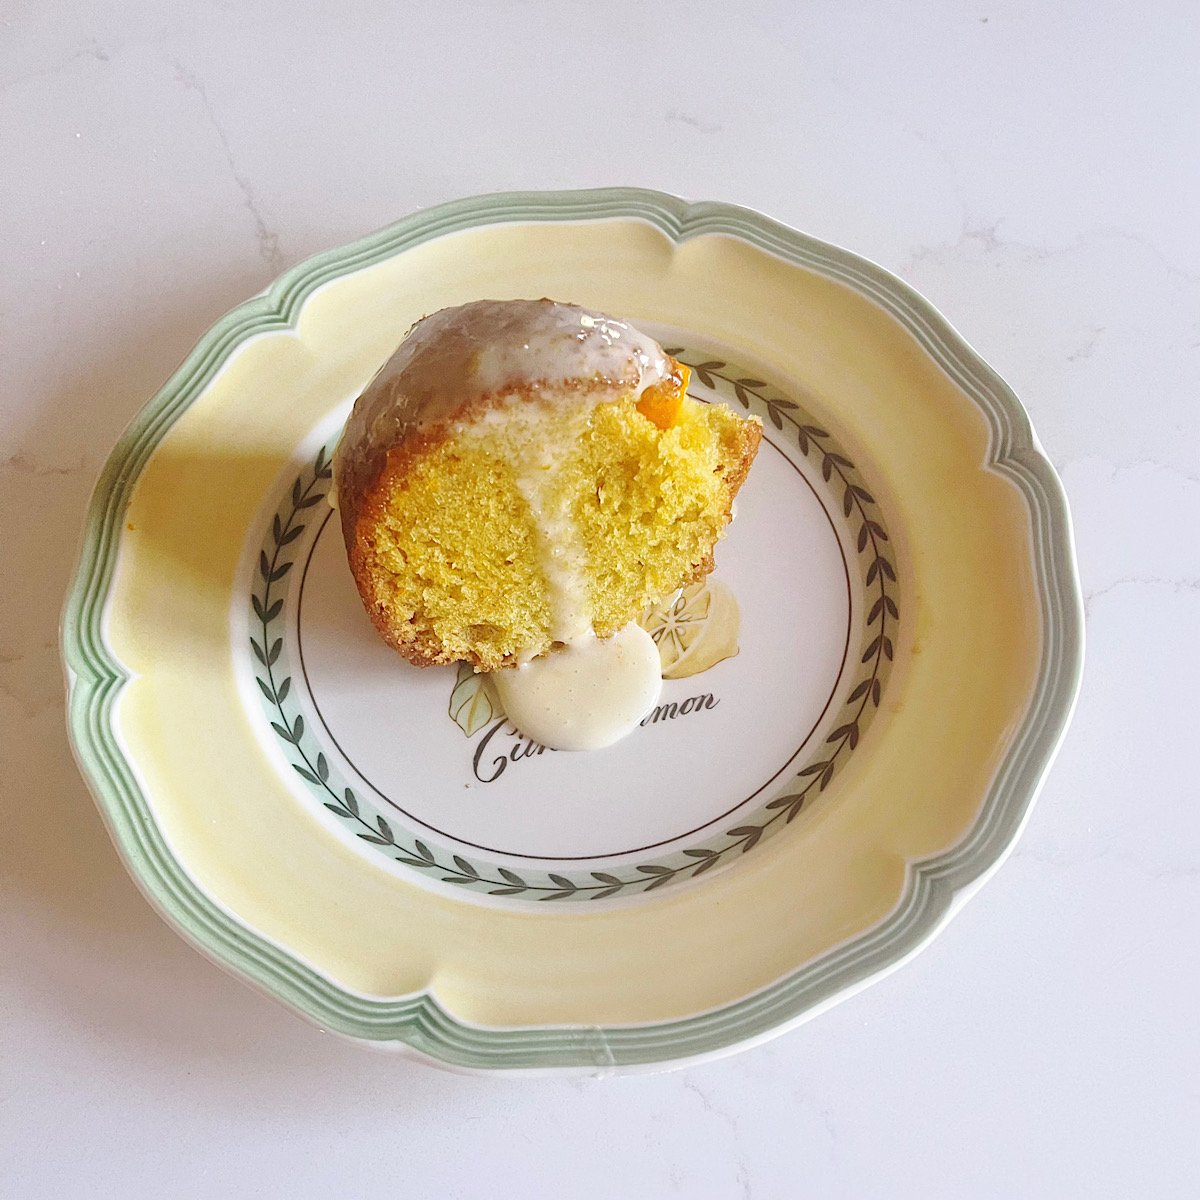
Italian Orange Cardamom Olive Oil Cake Drizzled with Orange Glaze

Matching Container Size to Vegetable for Higher Yields: Small Space Gardening
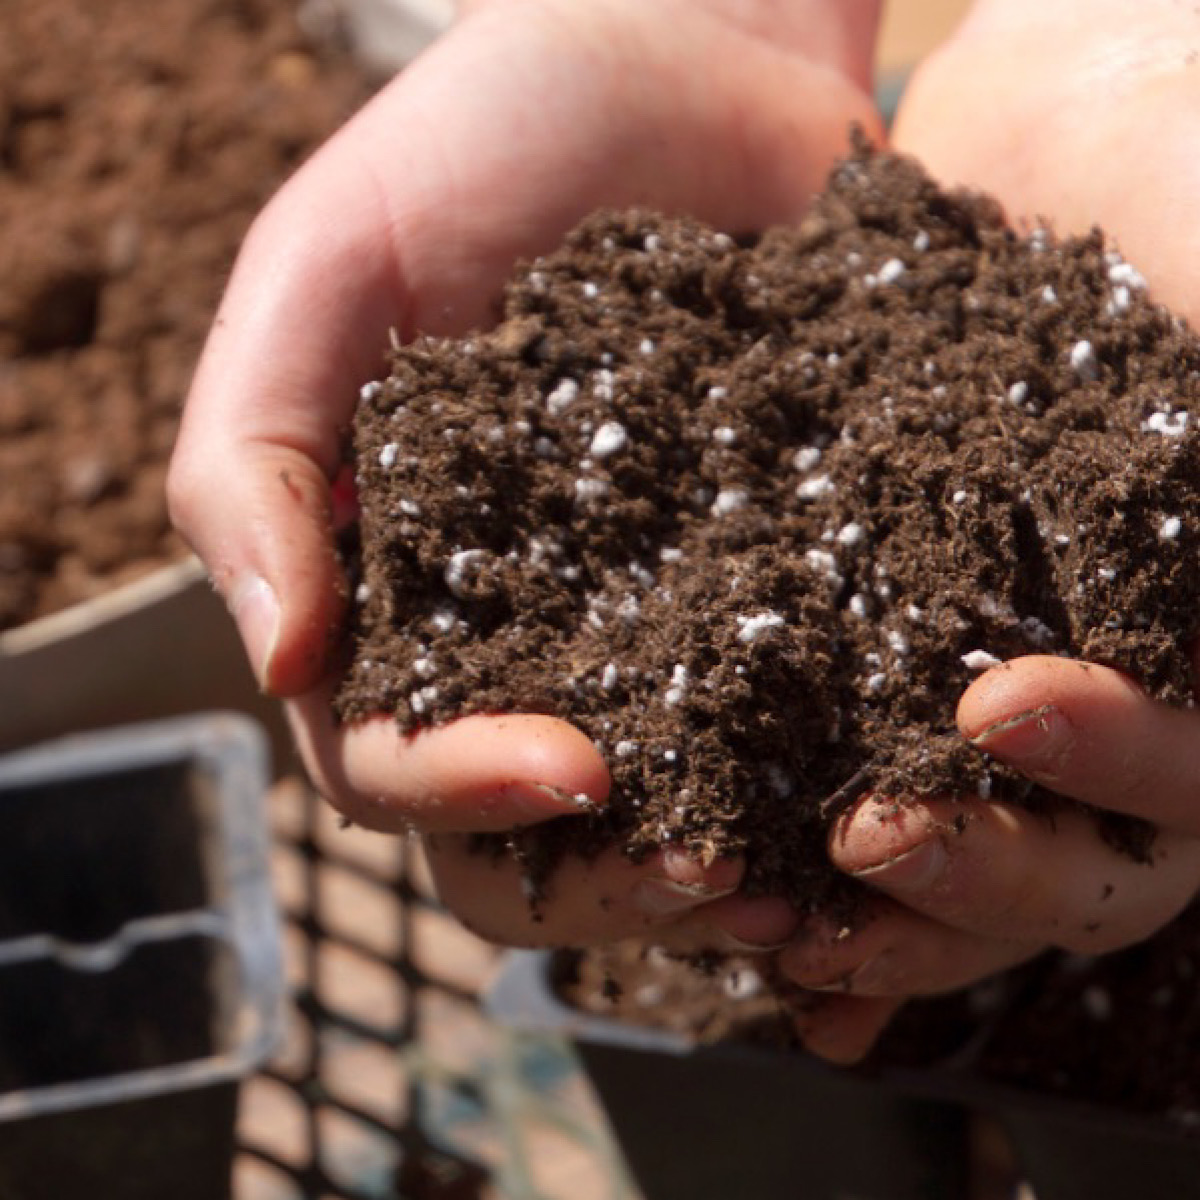
Homemade Potting Soil vs Commercial: + Preventing Damping-Off
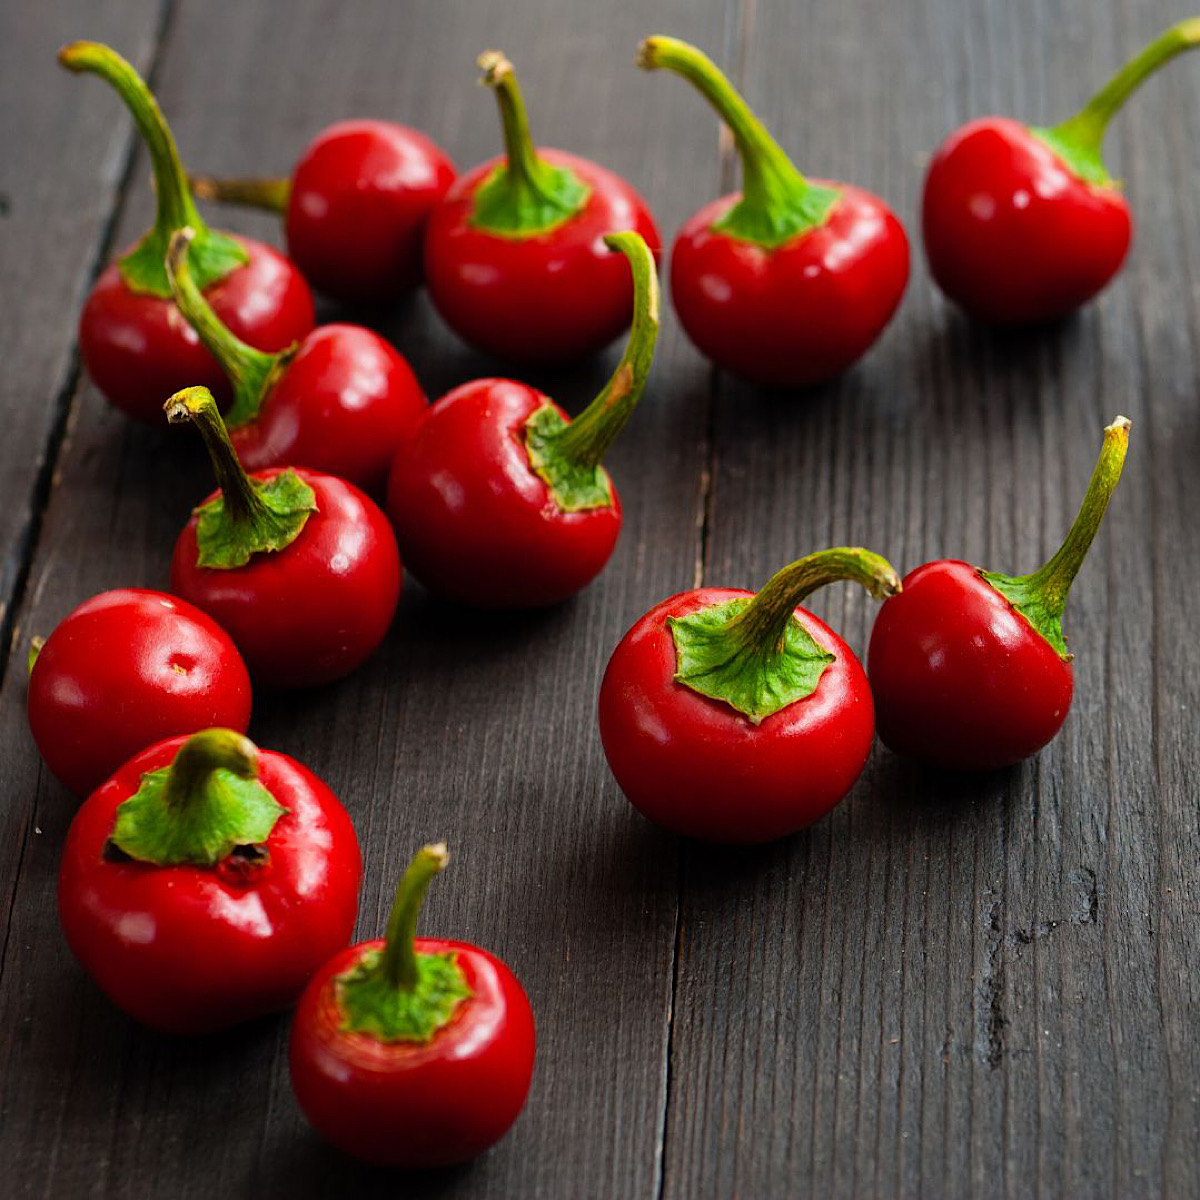
Best Pepper Varieties for the Italian Kitchen Garden
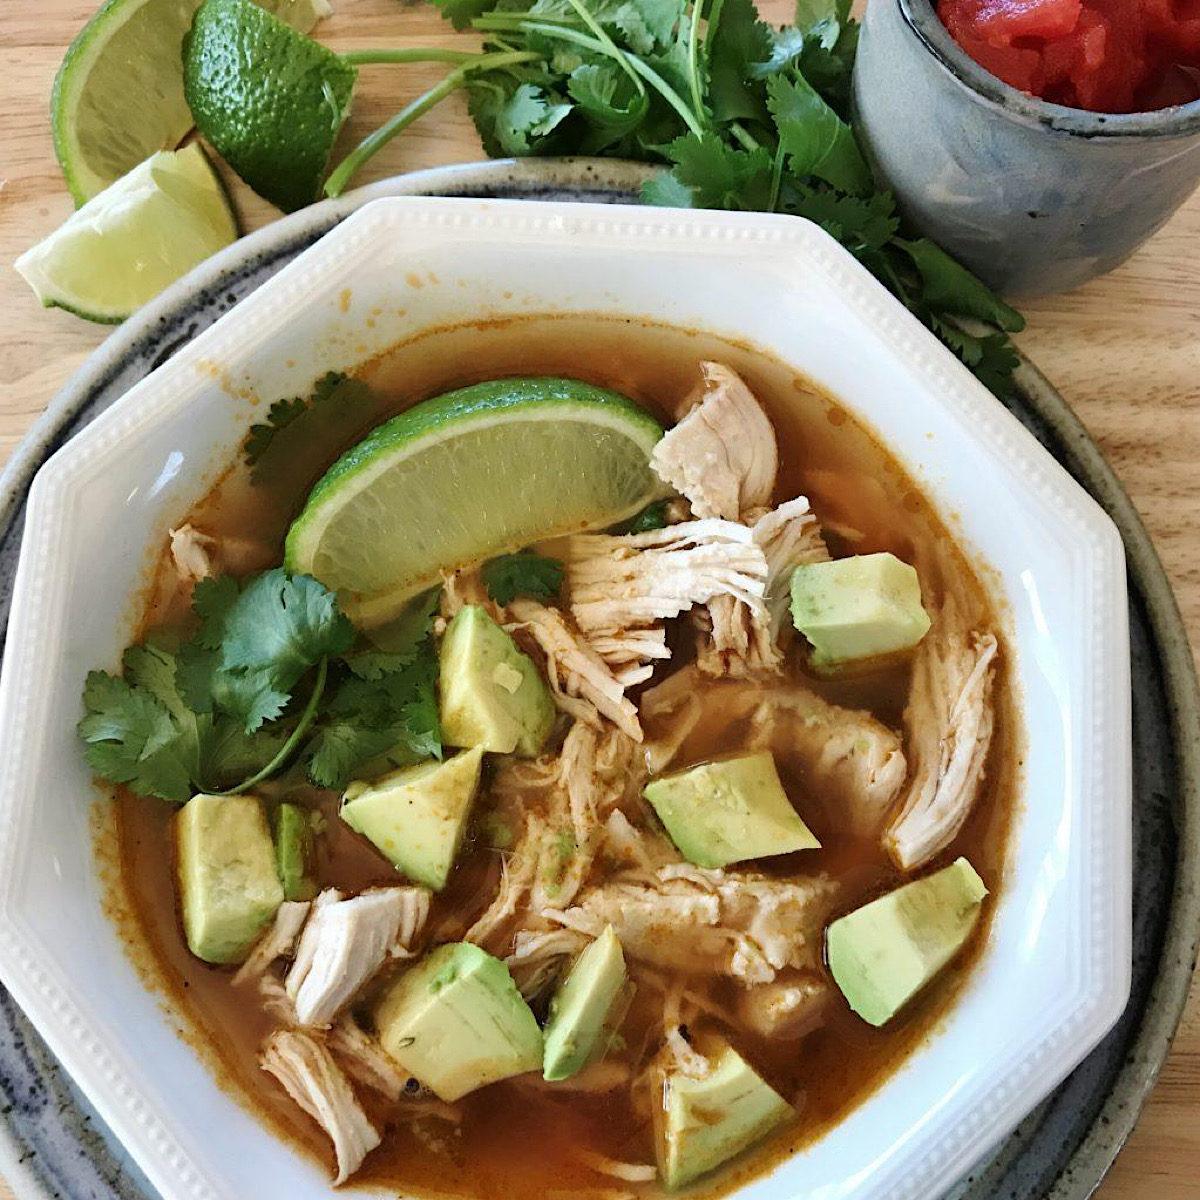
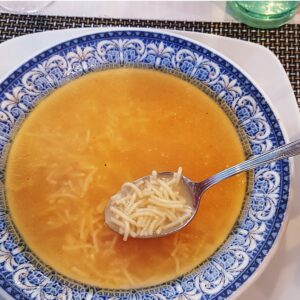
Low-Carb Mexican Chicken Lime Soup
Join our Facebook Group
Ask questions, share ideas and learn from others interested in becoming a little more self sufficient in growing (and cooking) your own food at home. The name of our Facebook group is “Grow Your Own Food at Home”.
As Seen in…
